Creating a new list in Mailchimp is like laying the foundation for a new building – it's the essential first step to reaching your audience. But once you've got the structure in place, there's still work to be done.
In this discussion, we'll explore the precise steps to take when setting up a new list in Mailchimp, including important details like customizing the signup form and managing multiple lists.
Whether you're new to Mailchimp or looking to streamline your email marketing efforts, understanding how to create and manage lists is crucial for success in reaching your audience.
Key Takeaways
- To create a new list in Mailchimp, navigate to the Audience tab and click on 'All contacts' then 'Create Audience'.
- Provide the required details such as audience name and default 'from' email address, and save to create the new audience (mailing list).
- Subscribers can be added to the list by importing an existing list, allowing sign-ups through a form, or adding contacts manually.
- Managing multiple lists in Mailchimp allows for better organization, compliance with regulations, and targeted campaigns based on subscriber interests or behavior.
Mailchimp List Basics
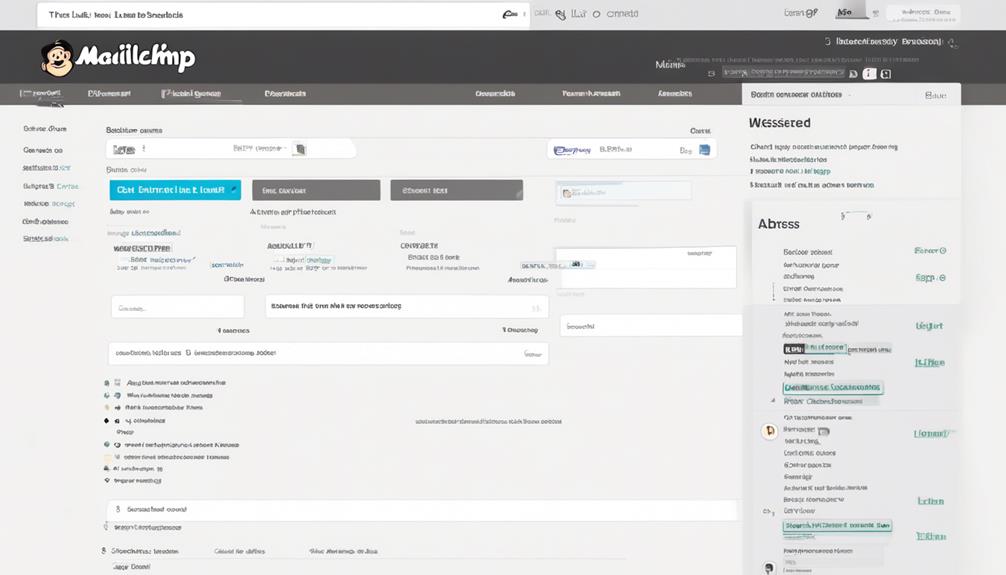
To create a mailing list in Mailchimp, navigate to the Audience tab in your account and follow the prompts to begin setting up a new list.
Click on the 'Audience' tab at the top of your Mailchimp dashboard, then select 'All contacts' and click on 'Create Audience.'
Enter the required details for your new mailing list, including the audience name, default 'from' email address, and other necessary information. Once you've filled in all the required fields, click 'Save' to create your new audience, which will serve as your mailing list.
Now that your list is created, you can start adding subscribers by importing an existing list, allowing people to sign up through a form, or adding contacts manually.
This is the first step towards building a targeted and engaged list of subscribers for your email marketing campaigns.
With your new mailing list in Mailchimp, you're ready to start sending out impactful and effective email campaigns to your audience.
Setting Up Your List

After creating your mailing list in Mailchimp, the next step is to set it up by accessing the Lists section in the Mailchimp dashboard and clicking on 'Create List' in the top-right corner.
First, fill in the required details such as the list name, default from email address, default from name, and reminder message. Remember that the contact information for the list is usually pulled from the main account details.
Next, choose whether to receive email notifications for new subscriptions. This can help you stay informed about any new additions to your list.
Importing Contacts
When importing contacts into Mailchimp, we can use various methods such as importing from a CSV file, importing from other apps, or copy-pasting new contacts from a spreadsheet.
To begin, navigate to the Audience dashboard, then click 'All contacts' and select 'Import Contacts'. Choose the method for importing, whether it's from a CSV file, another app, or by copy-pasting.
If importing from a CSV file, ensure the file is formatted correctly with the necessary contact information.
When importing from other apps, Mailchimp offers integrations with various platforms to seamlessly import subscriber information.
If you opt to copy-paste new contacts from a spreadsheet, ensure the data is accurately organized.
After selecting the method and uploading the file or pasting the information, review the imported contacts and match the fields with Mailchimp's audience fields. This step ensures that the contact information is accurately imported.
Managing Multiple Lists

Using Mailchimp's Lists feature allows us to efficiently organize subscribers based on different criteria or campaigns. When managing multiple lists in Mailchimp, we can create multiple lists to cater to various segments of subscribers.
To do this, we access the 'Lists' section in the Mailchimp dashboard and click on 'Create List' in the top-right corner. Each list can have its own unique settings, subscriber information, and segmentation for targeted campaigns.
This feature enables better organization and segmentation of subscribers for more tailored and effective email marketing campaigns. It also helps in complying with email marketing regulations and privacy laws by ensuring that subscribers are only included in lists they've explicitly opted into.
Additionally, managing multiple lists allows for better control over list growth, as we can send emails to specific segments based on their interests or behavior. It also enables us to efficiently delete inactive subscribers, ensuring that our Mailchimp account remains optimized for effective email marketing.
List Maintenance
To maintain the health and effectiveness of your email list, regularly clean out inactive subscribers. Start by identifying inactive subscribers who haven't engaged with your emails in a while. In Mailchimp, you can create segments based on subscriber activity and then remove those inactive subscribers from your list.
It's essential to make sure that your list only contains valid email addresses to improve your email marketing performance.
Additionally, consider using social media to encourage inactive subscribers to re-engage with your emails. You can run targeted social media campaigns to promote your content and encourage subscribers to interact with your emails again.
List maintenance also involves the regular editing and updating of your subscriber list. This ensures that you're complying with email marketing regulations and privacy laws. It's important to keep your list clean and up-to-date to optimize your email campaigns for improved results.
Frequently Asked Questions
How Do I Add a List to Mailchimp?
We add a list to Mailchimp by following these steps:
- Log in to Mailchimp.
- Navigate to the Audience tab.
- Click on 'Create Audience'.
- Fill in the required details for our mailing list.
- Save the audience.
Once our list is created, we can effectively manage it in Mailchimp by:
- Utilizing the user-friendly interface.
- Taking advantage of advanced email tracking.
- Using customizable templates.
To grow our mailing list, we can implement strategies such as:
- Offering incentives to encourage sign-ups.
- Promoting our list on social media platforms.
These steps and strategies will help us effectively manage and expand our mailing list in Mailchimp.
Can You Have Multiple Lists in Mailchimp?
Absolutely, having multiple lists in Mailchimp is a game-changer! It allows us to target specific subscriber groups with tailored content, making our marketing efforts more effective.
However, it's important to manage these lists separately since data can't be shared between them. This ensures data accuracy and compliance with regulations.
Plus, it's crucial for billing as Mailchimp counts the same email address on different lists as separate subscribers.
How Many Lists You Can Create in Free Mailchimp?
In the free version of Mailchimp, we can create up to 2,000 lists. Each list can hold a maximum of 2,000 contacts, and the total number of contacts across all lists can't exceed 2,000.
However, each contact can only belong to one list in the free version.
If you need to create additional lists or store more contacts, you'll need to upgrade to a paid plan in Mailchimp.
Where Are Lists in Mailchimp?
Lists in Mailchimp are accessed from the dashboard. To create a new list, click on 'Create List' and fill in required details like list name and default from email. Customize the signup form by adding fields and choosing field types. Import contacts from a CSV file or other apps. Review and finalize the import process. This allows for organizing contacts into different lists for targeted marketing and communication.
Can Creating a New List in Mailchimp Help Clean Up Email Lists?
Creating a new list in Mailchimp can be a helpful strategy to clean email lists. By isolating inactive or unengaged subscribers in a separate list using clean email list Mailchimp feature, you can better target your active audience and improve overall email deliverability and engagement rates.
Conclusion
As we create new lists in Mailchimp, we're like gardeners planting seeds in different soil. Each list is unique, requiring different care and attention.
Just as we tend to our garden with love and diligence, we must also nurture our lists, ensuring they thrive and grow.
With the right tools and knowledge, we can cultivate fruitful relationships with our subscribers, reaping the rewards of our hard work.
Happy gardening!


