You have a long list of contacts and need to send a mass email through Outlook. It may seem overwhelming and time-consuming, but don’t worry – we’re here to provide some tips to help you streamline your process.
From setting up a mailing list to drafting a message in Microsoft Word, there are several steps to consider. We’ll walk you through the initial stages and provide some valuable insights into how to personalize your emails effectively.
But before we get into the nitty-gritty, let’s start with the basics of preparing your main document in Word.
Key Takeaways
- The bulk email process in Outlook involves preparing a main document in Word and setting up a mailing list.
- The execution of the bulk email process includes starting a mail merge, selecting a data source and recipients, and personalizing the message.
- Managing contacts and email content involves putting contacts in a group, composing the email, and setting the contact list as the email recipient.
- When reviewing and sending the bulk email, it is important to ensure privacy by using the BCC field and reviewing the email before sending it.
Prepare Main Document in Word
We typically begin the process of bulk emailing in Outlook by opening Microsoft Word and navigating to the Mailings tab to initiate the Mail Merge for email messages. This allows us to prepare the main document in Word before sending it out to multiple recipients.
Using the Mail Merge feature, we can easily customize each email with personalized information from our data source. To do this, we start the Mail Merge and select the ‘Email Messages’ option. Then, we choose the data source, which could be an Excel spreadsheet or Outlook contacts, ensuring that it includes a column for email addresses with addresses for all recipients.
After selecting the data source, we can insert merge fields such as recipient names or other personalized details into the main document. It’s important to format any ZIP Codes or postal codes column as text to preserve any leading zeros.
Set up Mailing List
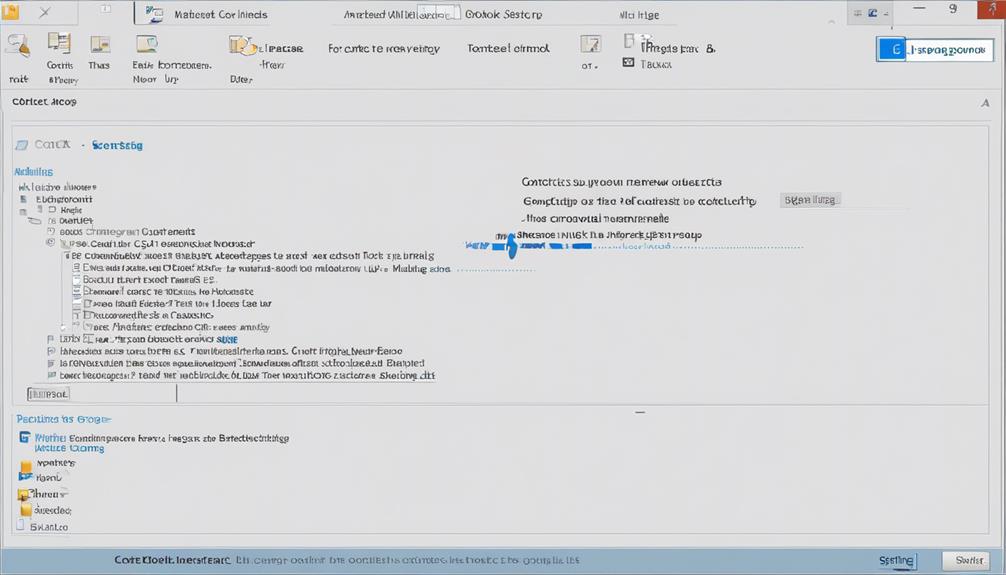
After preparing the main document in Word, the next step is to set up the mailing list, which serves as the data source for bulk emailing in Outlook. To set up a mailing list, you can either use an existing contact list or create one during the mail merge process. Ensure that your data source contains a column for email addresses with addresses for all recipients. Once you have your mailing list ready, link it to the email message by selecting recipients and confirming your data source.
Here’s a simple table to help you understand the process:
| Step | Description |
|---|---|
| 1. | Prepare your mailing list with email addresses and other relevant information. |
| 2. | Open Outlook and start a new email. |
| 3. | Click on the ‘Mailings’ tab and select the ‘Start Mail Merge’ option. |
| 4. | Choose the ‘Email Messages’ option and select your mailing list as the data source. |
| 5. | Insert merge fields to personalize your email message, such as recipient names or other relevant details. |
Draft Message in Microsoft Word
Utilizing mail merge in Microsoft Word allows for the creation of personalized bulk emails, enhancing the efficiency and customization of the messaging process. Drafting your message in a Word document and utilizing the mail merge feature enables you to send personalized emails to multiple recipients seamlessly.
Here’s how to draft your message in Microsoft Word:
- Start by opening Microsoft Word and creating a new document for your email message.
- Use placeholders for individualized data, such as recipient names or specific details, to personalize each email.
- Utilize the mail merge feature by selecting the E-mail Messages type and customizing your email message with a Greeting line and Merge Fields.
- Connect Outlook with the data source to ensure your Word document reflects any changes made to your recipient list or email content.
- Once your message is drafted and personalized, you can merge and send the emails by clicking on the Finish & Merge option in Word and then selecting Send Email Messages to send personalized bulk emails directly from Outlook.
Drafting your email message in Microsoft Word and utilizing the mail merge feature streamlines the process of sending personalized bulk emails, saving time and ensuring each recipient receives a customized message.
Start Mail Merge
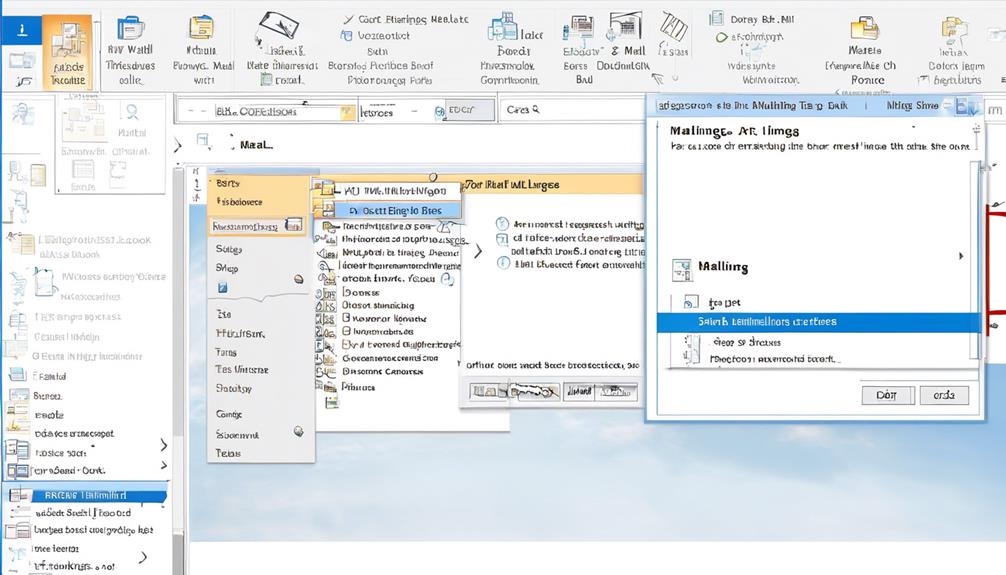
Let’s start by exploring the process of setting up a mail merge in Outlook.
We’ll cover how to select the data source for the merge and then move on to designing the email template.
These key points will help streamline the bulk emailing process and ensure that your messages are personalized and targeted.
Mail Merge Setup
To begin the mail merge setup in Outlook, navigate to the Mailings tab and initiate the process for email messages.
The following steps will guide you through the mail merge setup to send bulk email:
- Preparation: Go to Mailings and start Mail Merge for email messages.
- Mailing list setup: The mailing list serves as your data source.
- Linking the mailing list to the email message: Confirm that your data source contains a column for email addresses with addresses for all recipients.
- Adding personalized content to the email message: Go to Mailings and select Greeting Line.
- Preview and finishing: Choose Finish & Merge and then Send E-mail Messages.
Data Source Selection
We select the data source to begin the mail merge process in Outlook, ensuring that it contains the necessary information for personalized email messages. When initiating bulk email campaigns, it’s crucial to have a well-organized and up-to-date list of contacts.
In Outlook, the ‘Select Recipients’ option allows us to choose the data source for our mail merge. This could be an existing contact list from Outlook, an Excel spreadsheet, a Microsoft Access database, or even a new list created specifically for the campaign.
The data source should include fields such as first name, last name, and any other relevant details that we want to personalize in our emails. By carefully selecting the appropriate data source, we lay the foundation for targeted and effective communication in our bulk email campaigns.
Email Template Design
After selecting the appropriate data source for our mail merge in Outlook, the next step is to start the email template design process by navigating to the Mailings tab and initiating the Mail Merge for email messages.
- Utilize the email builder to create a visually appealing template.
- Explore design features such as font styles, colors, and layout options.
- Incorporate high-quality images or graphics to enhance the visual appeal.
- Personalize the template by adding recipient-specific fields for a customized touch.
- Experiment with different design options to ensure the template aligns with your branding and resonates with your audience.
Designing an engaging email template is crucial for making a lasting impression and maximizing the impact of your bulk email campaign. By leveraging the design features and options available, you can create professional and compelling emails that effectively convey your message.
Select Email Recipients
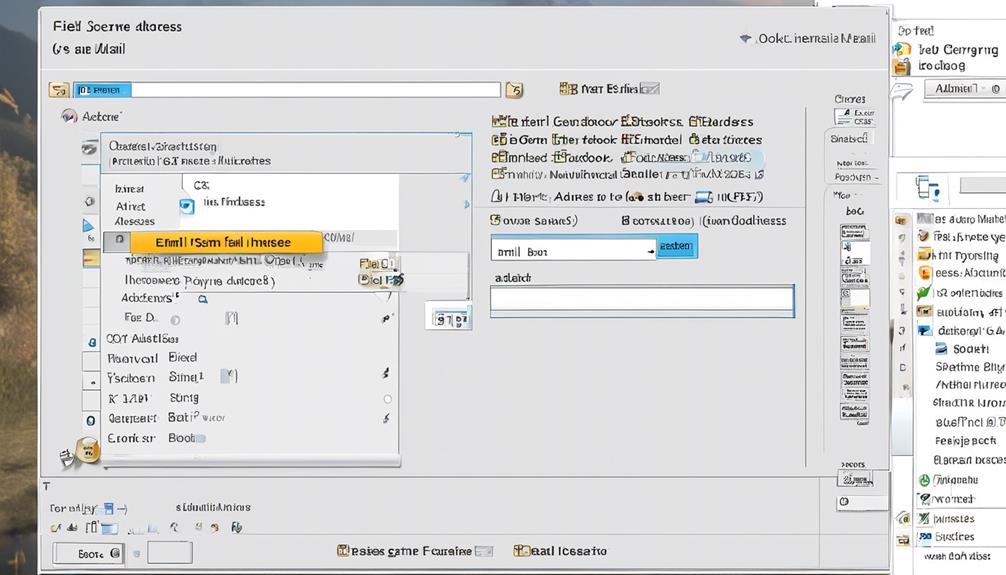
When selecting email recipients in Outlook, we have a variety of options at our disposal. We can create a new list, use an existing one, or choose recipients from our Outlook contacts.
This feature allows for efficient group emailing, making it easy to reach out to the right people at the right time.
Email Contacts List
To select email recipients in Outlook, navigate to the Mailings tab and choose from options like Type a New List, Use an Existing List, or Choose from Outlook Contacts.
When managing your email contacts list for bulk emailing, consider these essential steps:
- Ensure your email list is up-to-date and segmented for targeted communication.
- Merge your contact list with your email template for personalized mass emails.
- Double-check recipient details to avoid errors in sending the emails.
- Use Outlook’s advanced features to customize emails based on recipient data.
- Test the email merge process with a small group before sending to your full contact list.
With these steps, you can efficiently manage your email contacts list and ensure successful bulk emailing in Outlook.
Group Email Feature
We can efficiently select email recipients in Outlook using the ‘Select Recipients’ feature under the Mailings tab. This feature allows us to choose from options like Type a New List, Use an Existing List, or Choose from Outlook Contacts. By customizing the message with the Greeting Line feature and using Merge Fields to add dynamic fields from the recipient list, we can enhance the personalization of the emails. After customizing the message, simply click on the ribbon menu option for Finish & Merge and then select Send Email Messages to send personalized mass emails efficiently. Additionally, we can add the subject line and choose the preferred email format (HTML or plain text) before sending the mass email campaign.
| Type of List | Example | Functionality |
|---|---|---|
| Type a New List | Custom recipient list | Create a new recipient list |
| Use an Existing List | Contact database | Utilize an existing recipient list |
| Choose from Outlook Contacts | Address book | Select recipients from Outlook contacts |
Recipient Selection Options
To efficiently manage the selection of email recipients in Outlook, we can seamlessly transition from customizing the message with the ‘Select Recipients’ feature to the process of choosing the desired recipient list, whether it’s a new list, an existing one, or contacts from Outlook.
When selecting email recipients for a bulk email in Outlook, we’ve various options at our disposal:
- Type a New List: Create a new recipient list directly within the Mailings tab.
- Use an Existing List: Choose from previously created recipient lists for your email campaign.
- Choose from Outlook Contacts: Select recipients from your Outlook contacts to streamline the process.
- Edit Recipients: Utilize the Mail Merge feature to edit, sort, or filter your mailing list as needed.
- Preview Results: Use the Preview Results option to preview names and addresses in the letter’s body before sending.
Personalize Message
When sending bulk emails in Outlook, it is important to personalize the message to make a meaningful connection with the recipients. Creating personalized messages can significantly increase engagement and response rates. In Outlook, you can achieve this by using dynamic content to tailor each email to the specific recipient.
Here’s a comparison of creating personalized emails versus generic mass emails in Outlook:
| Personalized Emails | Mass Emails in Outlook |
|---|---|
| Tailored to each recipient based on their name, preferences, or past interactions | Generic and sent to a large group without customization |
| Higher open and response rates | Lower engagement and higher chances of being marked as spam |
| Builds stronger relationships with recipients | Less likely to make a meaningful connection with the recipients |
| Requires more effort but yields better results | Quick and easy but may not be as effective |
| Can include specific details relevant to each recipient | Limited customization and personalization |
Finish & Merge
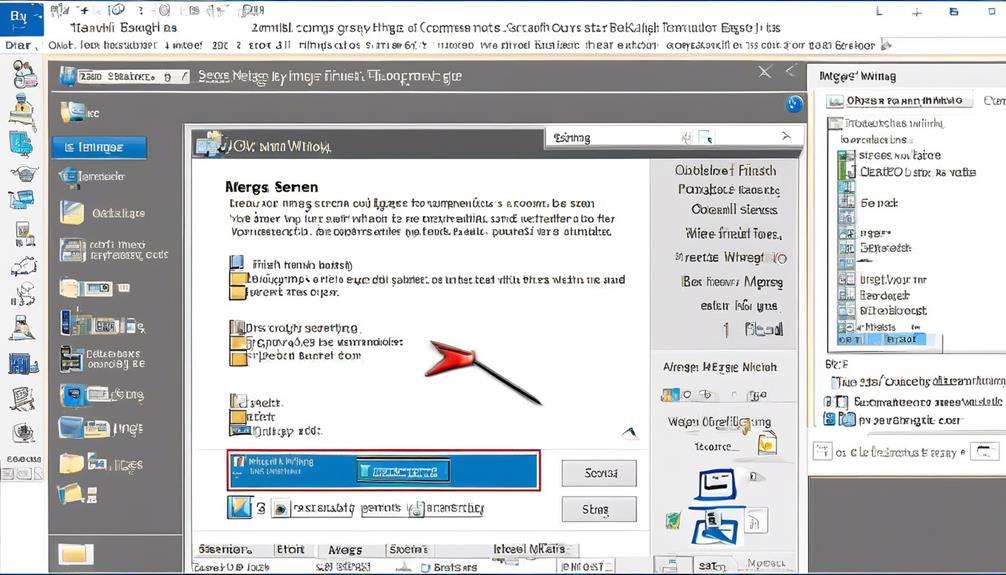
After personalizing your bulk emails in Outlook to create meaningful connections with recipients, the next step is to utilize the ‘Finish & Merge’ feature to efficiently send them. The ‘Finish & Merge’ feature in Outlook allows you to send mass email to your recipient list with ease. Here’s how you can make the most of this feature:
- Preview Results: Before sending out the emails, you can preview the merged emails to ensure that the personalization and formatting are correct.
- Complete the Merge: Once you’re satisfied with the preview, you can complete the merge to generate individual emails for each recipient.
- Send Immediately: You have the option to send the merged emails immediately, ensuring that your recipients receive the emails promptly.
- Edit Individual Emails: Outlook allows you to make individual changes to the merged emails before sending, ensuring that each email is tailored to the recipient.
- Track Responses: Utilize Outlook’s tracking features to monitor the responses to your mass email, allowing you to gauge the effectiveness of your campaign.
Put Contacts in a Group
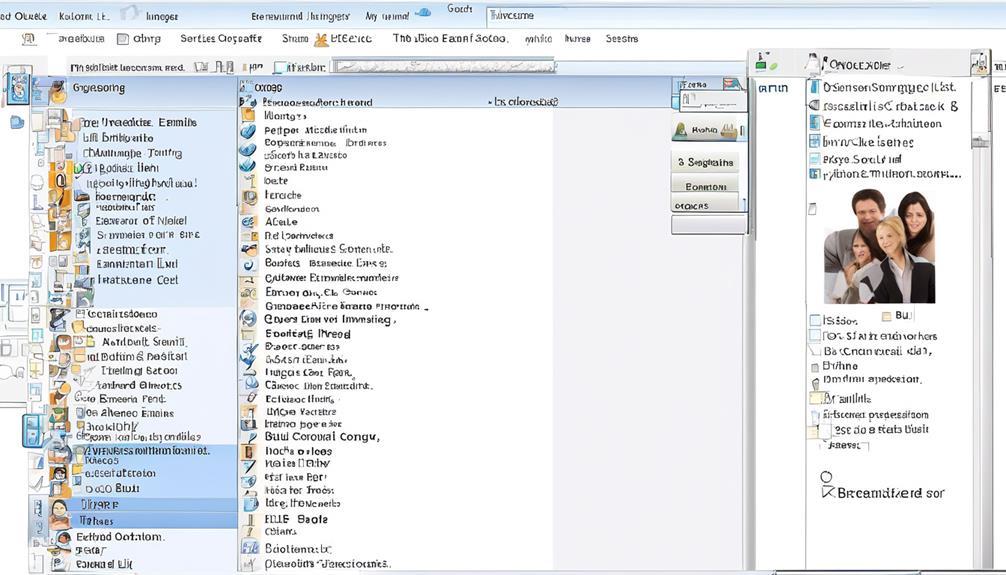
We can organize our contacts in Outlook by creating groups, which allows us to easily send bulk emails to specific sets of contacts. To put contacts in a group, open Outlook and go to the Contacts tab to access your contacts. Then, select the contacts you want to group by holding down the Ctrl key and clicking on each contact. Right-click on the selected contacts and choose ‘Add to Contacts Group’ or ‘New Group Contact’ to create a new group. Name the group and click Save to add the selected contacts to the newly created group. Now, you can easily send bulk emails to this group by addressing the email to the group name.
| Step | Description |
|---|---|
| 1. | Open Outlook and go to the Contacts tab. |
| 2. | Select the contacts you want to group. |
| 3. | Right-click and choose ‘Add to Contacts Group’ or ‘New Group Contact’. |
| 4. | Name the group and click Save to add the contacts. |
| 5. | Easily send bulk emails to the group by addressing the email to the group name. |
Compose the Email

To send a bulk email to the grouped contacts in Outlook, open a new email message and ensure the recipient field is addressed to the created contact group.
When it comes to composing the email, it’s crucial to consider a few key points to ensure the message is effective and well-received:
- Personalization: Tailor the content of the email to make it relevant to the recipients. Personalized emails tend to have higher open and engagement rates.
- Clear Call to Action: Clearly state the purpose of the email and what action you want the recipients to take. Whether it’s to RSVP for an event or visit a website, a clear call to action is essential.
- Concise and Engaging Content: Keep the email concise while maintaining engaging content. Use compelling language and visuals to capture the recipients’ attention.
- Test for Compatibility: Before sending the email, ensure it’s compatible with different email clients and devices to guarantee optimal display for all recipients.
- Proofreading: Always proofread the email for any grammatical errors or typos before hitting send. A well-crafted email reflects professionalism and attention to detail.
Set Contact List as Email Recipient
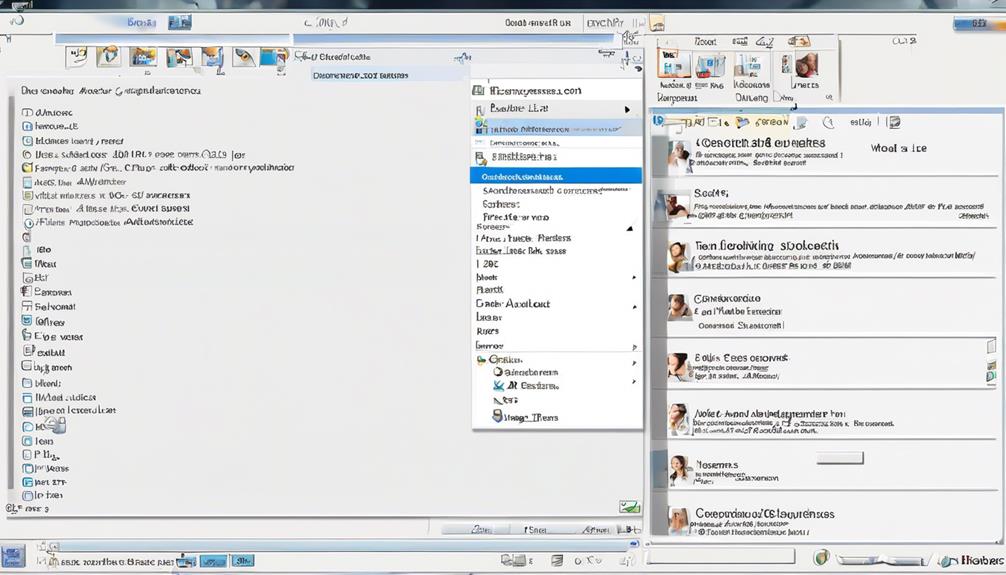
Now, let’s talk about how to set our contact list as the email recipient in Outlook.
We’ll start by selecting the contact list and ensuring that all recipient details are accurately entered.
Then, we’ll move on to entering our email content and finally sending out our bulk email.
Select Contact List
When setting your contact list as the email recipient in Outlook, it’s essential to ensure that the list includes a column for email addresses with addresses for all recipients. Here’s how to select your contact list for sending emails to multiple recipients using Outlook:
- Go to Mailings and choose ‘Select Recipients’ to set your contact list as the email recipient.
- Use the ‘Type a New List,’ ‘Use an Existing List,’ or ‘Choose from Outlook Contacts’ options to select your email recipients.
- Confirm that your contact list includes a column for email addresses with addresses for all recipients.
After selecting your email recipients, choose ‘File Save’ to save your settings.
Once you’ve set your contact list as the email recipient, proceed with composing your email and sending it.
Mastering the process of choosing the email recipients from your Outlook contact lists is crucial for efficient and effective bulk emailing.
Enter Email Content
Entering email content while setting the contact list as the email recipient is an essential step in the bulk emailing process.
To begin, open your email content in Microsoft Word and ensure it contains the necessary placeholders for personalized data.
Then, select your contact list as the email recipient by choosing from options such as Type a New List, Use an Existing List, or Choose from Outlook Contacts in the Mailings tab.
Customize your message using the Greeting Line feature to change the formal address and naming convention for a personalized touch.
Additionally, add dynamic fields from your recipient list using the Insert Merge Field option to include personalized content in the email message.
Finally, complete the process by clicking on Finish & Merge and then Send Email Messages, adding a subject line and choosing the mail format before sending.
This ensures a seamless and personalized approach to sending bulk email messages through Microsoft Outlook.
Send Bulk Email
Starting Mail Merge for email messages in the Mailings tab is the first step to send bulk email and set the contact list as the email recipient.
To ensure a smooth process, here’s what you need to do:
- Verify that your data source includes a column for email addresses with addresses for all recipients.
- Select a data source and format the ZIP Codes or postal codes column as text to preserve any zeros.
Double-check that your data source contains a column for email addresses with addresses for all recipients before linking the mailing list to the email message.
Utilize Mail merge: Edit recipients to edit, sort, or filter your mailing list if needed before previewing and finishing the process. This will help you customize your email list efficiently.
With these steps, you can seamlessly send an email to multiple recipients using Outlook or dedicated email service providers.
Complete Final Review and Send
Before sending out the bulk email, thoroughly review the message for errors and inconsistencies, double-check the recipient list and email addresses, and verify the subject line and email format. It’s crucial to ensure that the email is professional and error-free.
In MS Outlook, use the ‘Send Email Messages’ feature to efficiently distribute the email to your selected recipients. Additionally, consider personalizing the email content using the mail merge feature to create a more tailored message for each recipient.
If you need to include a large number of recipients, utilize the ‘copy and paste’ function to add multiple email addresses from a separate document or spreadsheet directly into the recipient list. This ensures accuracy and saves time.
Before hitting the send button, take a moment to review the email one last time to guarantee that all elements are in place and that the email will be well-received by your Outlook contacts.
Once everything is in order, confidently send your professional email to engage and inform your audience.
Hide Recipients in BCC
When sending bulk emails, it’s important to use the BCC field to protect recipients’ privacy. By hiding recipients in BCC, we can prevent the dreaded ‘reply all’ mishaps and keep our email communications organized.
This feature also minimizes email clutter and creates a more professional appearance.
BCC for Privacy
To maintain privacy and confidentiality when sending bulk emails in Outlook, the BCC option can be used to hide recipients’ email addresses. When utilizing BCC for privacy in Outlook, it’s essential to:
- Safeguard Recipients’ Privacy: BCC conceals email addresses, preventing recipients from seeing each other’s contact information.
- Maintain Professionalism: Using BCC ensures a polished and professional appearance for bulk campaigns.
- Prevent Privacy Concerns: BCC helps to avoid potential privacy issues by keeping recipients’ email addresses confidential.
- Ensure Data Protection: Utilizing BCC in Outlook safeguards the security and privacy of recipients’ contact details.
- Comply with Regulations: BCC assists in adhering to data privacy regulations when conducting email campaigns in Outlook.
Prevent Reply All
We strategically employed the BCC feature in Outlook to prevent any potential reply all disasters and maintain confidentiality for recipients’ email addresses when sending bulk emails. Hiding recipients in BCC is crucial to prevent reply all mishaps and maintain a professional sender reputation.
By utilizing BCC, we can also prevent potential red flags from email service providers and spam filters. When sending bulk emails, setting the contact list as the email recipient in BCC ensures that recipients’ email addresses remain hidden in Outlook. This method not only prevents reply all accidents but also maintains the privacy and security of recipients’ information.
It’s important to use BCC to prevent reply all disasters when sending bulk emails in Outlook to ensure a smooth and professional email communication process.
Reduce Email Clutter
Using the BCC feature in Outlook significantly reduces email clutter and maintains recipient privacy. When sending bulk emails, this feature is essential for keeping your mailing list confidential and preventing accidental ‘reply all’ mishaps.
By hiding recipients in BCC, you can maintain a professional image and prevent the exposure of multiple email addresses. This reduces the risk of your emails being flagged as spam, ensuring that your communications reach recipients’ inboxes.
To send bulk emails with hidden recipients, simply compose your email, add your own email address in the ‘To’ field, and then add all the recipients’ email addresses in the ‘BCC’ field. With this approach, you can send personalized bulk emails in Outlook while protecting the privacy of individual recipients.
Create Message Draft
Creating a message draft in Outlook allows for efficient and organized email preparation. When using the ‘Create Message Draft’ feature, it’s essential to ensure that your Outlook version supports this functionality.
To initiate the process, open Outlook and click on ‘New Email’ to start composing your email copy. Once you’ve written your email copy, click on the ‘Save’ button to store it as a draft. Access your saved drafts later by navigating to the Drafts folder in Outlook.
This feature is particularly beneficial when preparing to send email campaigns in bulk, as it enables you to review and edit your messages before they’re sent out. Additionally, when creating drafts, consider including placeholders for personalized data that can be filled in during mail merge. This ensures that each recipient receives a personalized email, enhancing the effectiveness of your outreach.
As a Content Writer, mastering the ‘Create Message Draft’ feature in Outlook can significantly streamline your email preparation process and improve the quality of your communication.
Define Recipients
Targeting the appropriate audience is crucial for effective bulk email campaigns in Outlook. When defining recipients for a mass email, there are several key steps to consider:
- Identifying Target Audience: Begin by determining the specific individuals or groups who should receive the email based on the campaign’s objectives.
- Utilizing Existing Lists: If available, leverage existing contact lists within Outlook to streamline the recipient selection process.
- Adding New Email Addresses: For new contacts, input their email addresses into the recipient list, ensuring accuracy and completeness.
- Customizing Email Address Column: Organize the email address column to display relevant recipient information and facilitate personalization.
- Managing Recipient List: Regularly review and update the recipient list to maintain its relevance and effectiveness for future email campaigns.
Send Bulk Emails Using Excel
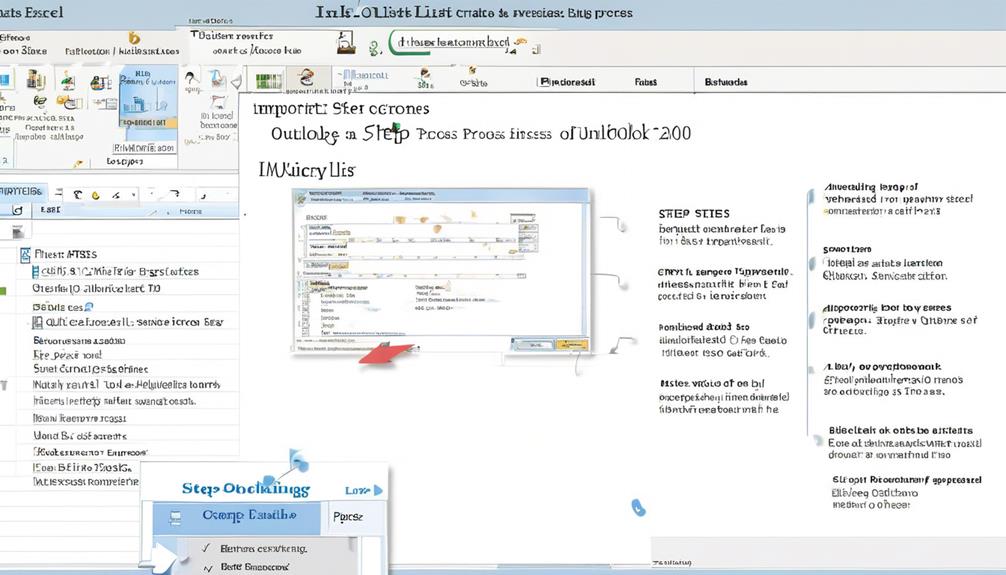
To efficiently send bulk emails using Excel, we can streamline the process by preparing a well-organized data source that includes a designated column for email addresses and properly formatted ZIP codes. Once the data is organized, we can utilize the Mail Merge feature in Word to link our Excel mailing list to the email message. By choosing the ‘Send E-mail Messages’ option, we can seamlessly integrate our data from Excel into our email campaign. Additionally, we can personalize the content of our emails by utilizing the Greeting Line feature in the Mailings tab.
After preparing and personalizing our bulk email, we can preview and finish the process by selecting ‘Finish & Merge’ and then ‘Send E-mail Messages.’ This allows us to specify the email address column and choose the email format before sending the emails directly from Outlook. It’s important to note that Outlook has a per day limit for sending emails, so email marketers should be mindful of this restriction.
While Outlook is simple and effective for sending bulk emails using Excel, those looking for advanced marketing tools and improved email campaign performance may consider using professional email marketing software.
Frequently Asked Questions
How Do I Do a Mass Email in Outlook?
We can easily send a mass email in Outlook by following these steps:
- Create a new email.
- Add multiple recipients in the ‘To’ field.
- Separate their email addresses with semicolons.
To streamline the process and make it more efficient, we can also use the following features:
- Email merge: This allows us to send personalized emails to a large group of recipients without having to manually enter each email address.
- Distribution list: We can create a distribution list with all the email addresses of the recipients, and then simply select the list as the recipient when composing the email. This saves us the time and effort of individually adding each recipient.
How Do I Send a Mass Email and Hide Recipients in Outlook?
We send mass emails and hide recipients in Outlook by using the BCC field to protect their privacy. This ensures that each recipient’s email address remains confidential. It’s a simple and effective way to maintain the privacy of recipients while sending bulk emails.
However, Outlook’s daily email limit is 300, and it lacks advanced marketing tools. For more advanced features, analytics, and better deliverability, professional email marketing software may be a better option.
How Do I Send an Email to Multiple Recipients in Outlook?
Sending an email to multiple recipients in Outlook is easy. Just open a new email, type the email addresses in the ‘To’ field, add a subject, and compose your message.
You can also use the ‘CC’ or ‘BCC’ fields to include additional recipients. Remember to proofread before hitting send. It’s crucial to maintain professionalism and accuracy.
How Do I Send Bulk Emails?
We send bulk emails by using the Mail Merge feature in Outlook.
First, we prepare by ensuring our data source includes email addresses and formatting ZIP Codes.
Then, we set up our mailing list and link it to the email message.
Next, we add personalized content to the email message, preview the results, and finish by choosing the recipients, adding a subject line, and selecting the mail format.
Conclusion
In conclusion, bulk emailing in Outlook is a convenient way to reach a large audience with personalized messages.
By using the Mail Merge feature in Word, we can easily link our mailing list to our email message and send out bulk emails with just a few clicks.
It’s like sending out a virtual message in a bottle, but with a modern twist!
