Sending bulk emails through Outlook can be a powerful tool for businesses and organizations to reach a wide audience with just a single click.
But how can this be done effectively and efficiently? There are several key steps and best practices that can make the process streamlined and impactful.
From building targeted mailing lists to crafting personalized messages, the art of bulk email in Outlook involves a mix of strategy and technical know-how.
But fear not, as we’ll unravel the intricacies and provide practical tips to help you master this essential aspect of modern communication.
Key Takeaways
- Review and tailor the content of your main document before sending bulk email in Outlook.
- Utilize the mail merge feature for targeted customization, ensuring your data source includes a column for email addresses.
- Set up a mailing list during mail merge or link your existing mailing list to the email message.
- Organize contact groups in Outlook to streamline the process of sending mass emails and ensure efficient management.
Preparing Your Main Document
Optionally, before proceeding with the mail merge, it’s beneficial to review the content of your main document to ensure it’s personalized and relevant to your recipients. This step is crucial for effective communication with your audience. When using the mail merge option in Microsoft Outlook, it’s essential to guarantee that the main document aligns with the intended purpose of the email.
The content should be tailored to the recipients, ensuring that the message resonates with each individual. By doing so, you enhance the chances of engagement and response from your recipients.
Incorporating personalized elements into the main document can significantly impact the success of your email campaign. Utilize the mail merge: edit recipients feature to filter and sort your mailing list, enabling targeted customization. This ensures that the content is relevant to specific groups within your recipient list, increasing the effectiveness of your communication.
Moreover, by ensuring that your data source includes a column for email addresses with addresses for all recipients, you can avoid missing out any recipients in your email list.
Setting Up Your Mailing List
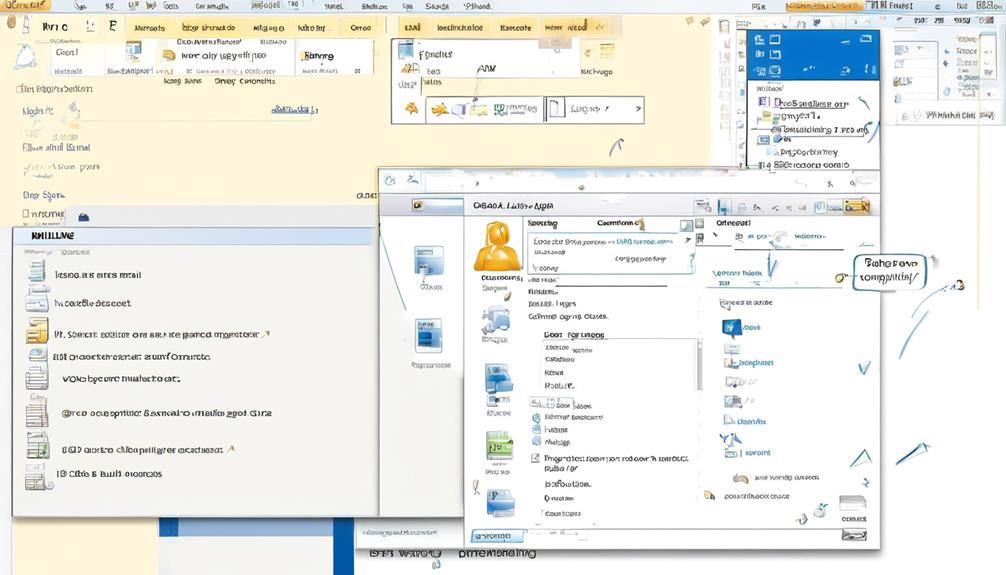
Alright, let’s dive into the next step of setting up our mailing list for bulk email in Outlook.
Adding email contacts and organizing contact groups are essential for streamlining the process and ensuring that our emails reach the right recipients.
Add Email Contacts
To set up your mailing list for sending bulk emails in Outlook, follow these steps:
- Ensure your data source has a column for email addresses.
- Create a mailing list during mail merge if you don’t have one.
- Link your mailing list to the email message and select recipients.
To ensure that your data source includes a column for email addresses with all recipients’ addresses, you can either check if the column exists or create one if it doesn’t. This is an important step as it will be used to populate the recipients’ email addresses in the bulk email.
If you don’t have a mailing list already, you can create one during the mail merge process. This will allow you to organize and manage your recipients effectively.
Once you have your mailing list, you need to link it to the email message. This involves confirming the presence of the email addresses column in your data source and selecting the recipients from the list.
After linking your mailing list, you can add personalized content to the email message using the Greeting Line feature and including other fields from your data source. This will help make the email more personalized and engaging for each recipient.
Before sending the mass email, it’s important to preview your email to ensure everything looks as intended. You can also choose your email format, such as HTML or plain text, based on your preferences or requirements.
Finally, when you are ready to send the bulk email, select “Finish & Merge” and then “Send E-mail Messages” to initiate the sending process. This will send the email to all the recipients in your mailing list.
Organize Contact Groups
Once you have added your email contacts and set up your mailing list, the next step is to organize contact groups, which will allow you to efficiently manage and categorize your recipients for bulk email sending in Outlook.
Organizing contact groups in Outlook is essential for sending mass emails and personalized mass emails using the mail merge feature. To do this, navigate to the ‘People’ section in Outlook and select ‘New Contact Group.’
Then, add the relevant email addresses from your Outlook contacts to the group. You can create multiple contact groups to categorize recipients based on different criteria, such as their roles, departments, or locations.
This will streamline the process of sending mass emails and ensure that your mailing list is well-organized for future use.
Drafting Your Message in Word
In crafting your message in Word, consider using specific examples to enhance the clarity and impact of your email content. When drafting your email for a mass email campaign in Outlook, it’s crucial to create a message that resonates with your recipients.
To achieve this, consider the following:
- Using Mail Merge: Utilize the Mail Merge feature in Word to personalize your emails, making them more engaging and relevant to your recipients. This can include inserting their names, company information, or other personalized details.
- Selecting Recipients from a List: Ensure that you’re selecting the correct recipients from your list, whether it’s a new list, existing list, or contacts from your Outlook. This step is essential in targeting the right audience for your mass email in Outlook.
- Inserting Merge Fields: Customize your message by inserting merge fields such as greetings and recipient-specific details. This will create a personalized touch to your emails, making them more impactful and relevant to each recipient.
Starting Mail Merge
Starting the Mail Merge feature in Outlook allows you to personalize and send bulk email messages efficiently to your selected recipients.
To begin, navigate to the ‘Mailings’ tab in Word and select ‘Start Mail Merge.’
Next, ensure that your data source, such as an Excel spreadsheet, includes a column specifically designated for email addresses, ensuring that all recipients’ email addresses are listed. It’s crucial to format any ZIP codes or postal codes as text to preserve any leading zeros.
When using Outlook contacts as your data source, make sure that Outlook is set as your default email program and that it’s the same version as Word to ensure compatibility.
Once you have selected your data source, proceed to the ‘Mailings’ tab and choose ‘Select Recipients’ to import the recipient list.
After this step, you can insert the recipient’s email address into the email message by using the ‘Greeting Line’ feature. This allows for personalized greetings, which can significantly enhance the effectiveness of your bulk email communication.
With these initial steps completed, you’re well on your way to utilizing the mail merge feature in Outlook to streamline the process of sending personalized bulk email messages.
Selecting Your Email Recipients
So, let’s talk about how to choose the right recipients for your bulk email in Outlook.
We’ll cover how to create email distribution lists, email groups, and contact categories.
This will help you target the right audience and ensure that your messages reach the right people.
Email Distribution Lists
When selecting your email recipients for a bulk email in Outlook, consider using a distribution list to efficiently manage and personalize your recipient list.
By using distribution lists, you can easily organize and group your recipients, ensuring that the right people receive your message. This saves time and effort in the long run and allows for easy updates to the recipient list as needed.
Additionally, distribution lists enable you to send personalized emails to a large number of recipients, making your email marketing services more effective. They also help you stay within Outlook limits for sending bulk emails, ensuring that your emails are successfully delivered without any issues.
Email Groups
To efficiently select your email recipients for a bulk email in Outlook, consider using the Mailings tab to access options like Type a New List, Use an Existing List, or Choose from Outlook Contacts. This allows for seamless integration of your email list management into your email marketing efforts.
By utilizing the mail merge feature in Outlook, you can personalize emails by adding dynamic fields from your recipient list, such as names, company names, titles, and email addresses, into the email message. Additionally, the Greeting Line feature offers a way to change the formal address and naming convention for a more customized touch.
However, it’s important to note that Outlook has a daily email limit of 300 emails, so keep this in mind when using Outlook to send bulk email messages.
Contact Categories
Consider categorizing your Outlook contacts into specific groups to streamline the process of selecting recipients for your bulk email communications. By creating contact categories, you can easily segment your contacts and send targeted emails for better engagement. This allows you to personalize your messages and tailor them to the specific needs and interests of each group.
When sending bulk emails, using contact categories in Outlook can significantly improve the efficiency of your email marketing efforts.
- Streamline your recipient selection process
- Personalize your messages for better engagement
- Tailor your emails to specific groups for targeted communication
Personalizing Your Message
Personalizing your message enhances the impact of your emails and creates a more meaningful connection with your recipients. When sending bulk emails in Outlook, using the mail merge feature can help personalize your message. Here’s a simple guide to personalize your emails using the mail merge feature:
| Step | Description | Example |
|---|---|---|
| Start Mail Merge | Select the ‘Mailings’ tab, click ‘Start Mail Merge’, then choose ‘Email Messages’. | Start Mail Merge > Email Messages |
| Select Recipients | Click on ‘Select Recipients’ to choose your recipient list, such as an Excel spreadsheet. | Select Recipients > Use an Existing List |
| Insert Merge Fields | Insert merge fields like recipient’s name, company, or other relevant information. | Insert Merge Fields > Greeting Line: Dear <<First Name>> |
| Preview Personalization | Preview the personalized email to ensure the merge fields display the correct recipient info. | Preview Results > Verify the personalized content |
Finishing and Sending Your Campaign
After personalizing your message with the mail merge feature, the next step is to ensure that you’re ready to finish and send your campaign in Outlook. Here are the key steps to finalize and send your professional email campaign:
- Review Your Email: Before sending, double-check your email to ensure all personalization and content are accurate.
- Check Outlook Limits: Outlook limits the number of emails you can send per day to prevent spam. Make sure your campaign complies with these limits.
- Avoid Spam Folder: To increase the chances of your emails reaching the recipient’s inbox, ensure that your personalized messages aren’t flagged as spam.
Now that your email campaign is ready to go, take the time to review, comply with Outlook’s sending limits, and avoid the spam folder. Once everything is in order, you can confidently create and send your professional email campaign in Outlook.
Frequently Asked Questions
How Do I Send a Mass Email in Outlook?
Sure, we can send mass emails in Outlook by creating a new email and adding multiple recipients to the ‘To’ field or by using the ‘Bcc’ field for a more discreet approach.
It’s important to ensure that recipients’ information is handled in accordance with privacy regulations.
Outlook also offers the option to create and use email distribution lists, making it easier to send bulk emails to specific groups.
Can I Send an Email to 1000 Recipients in Outlook?
Yes, we can send an email to 1000 recipients in Outlook. However, it’s important to follow best practices to avoid being marked as spam.
Ensure your mailing list is properly formatted, use the Mailings tab to link the list to your email, and personalize the message using data source fields.
Consider using professional email marketing software for advanced features.
Always preview and test your email before sending to ensure it looks great for all recipients.
How Do I Send an Email to Bulk Recipients?
Sure!
Sending bulk emails in Outlook is easy. First, compose a new email and enter your own email address in the ‘To’ field.
Then, click on the ‘BCC’ button and add all the recipients’ email addresses there. This ensures that each recipient won’t see the other addresses.
After that, write your email and hit send. Just make sure to check your organization’s email policy to ensure compliance with any restrictions on bulk emailing.
How Do I Send an Email to Multiple Recipients in Outlook?
Sure, we can definitely help with that.
To send an email to multiple recipients in Outlook, you can simply start by composing a new email, then enter the email addresses of the recipients in the ‘To’ field, separating each address with a comma.
You can also add recipients to the ‘Cc’ or ‘Bcc’ fields if needed.
Once you’ve added all the recipients, just compose your email and hit send.
Conclusion
In conclusion, sending bulk emails in Outlook is like conducting a symphony – it requires careful preparation, coordination, and personalization to create a harmonious result.
By following the outlined steps and utilizing the features available in Outlook, businesses can effectively reach their audience with targeted and engaging email campaigns.
So, let’s start composing those email masterpieces and watch our marketing efforts hit all the right notes!
