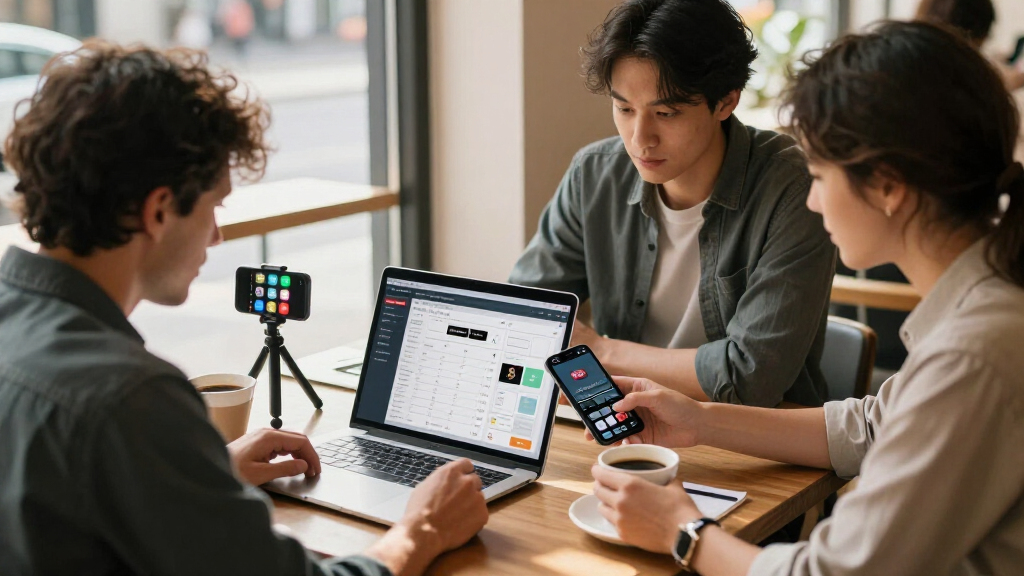

This checklist is for creators and small teams making social media content for platforms such as short-form video, livestreams, and podcasts. It covers practical gear and setup decisions that can help you plan a recording space around the content you want to make.

Get business pricing on office and shipping supplies
- Business-only prices and quantity discounts
- Tax-exempt purchasing
- Multiple users, one account, clear invoices
The sections follow the path from audio and lighting to camera support, background, and editing. Some slots name a specific product; the ring light and editing keyboard sections offer selection advice without a named pick.
Use the checklist by starting with your recording setup and the devices you already own. Check connections, available space, and how you plan to record before choosing gear; prioritize the gaps that affect your next shoot.
USB Microphone
A dedicated microphone can be useful when your content depends on clear spoken audio, including voiceovers, interviews, and recordings at a desk. The Shure MV7+ USB-C & XLR Podcast Dynamic Microphone with Stand – Black is the named pick for this slot. Before choosing any microphone, consider where you record, how close you can stay to it, and whether you need to connect it to a computer, audio equipment, or both.
A common buying mistake is choosing by connector name alone. Confirm that your device has a compatible port or that you have the appropriate interface or adapter, and check what is included in the listing rather than assuming cables or accessories are provided. Also consider your recording position: a microphone that works on a desk may need a different mounting arrangement if you record standing or move around. Connection and placement should guide the decision. Make sure the stand suits your available space and that the microphone can sit at a comfortable speaking distance without blocking your screen or workspace.
What to look for:
- Confirm the connection you need for your recording device.
- Check whether the listing includes the cables and accessories you expect.
- Choose a stand or mounting arrangement that fits your desk and posture.
- Consider how close and consistently you can speak to the microphone.
- Plan for the recording environment and the space available.
Shure MV7+ USB-C & XLR Podcast Dynamic Microphone with Stand – Black

The Shure MV7+ is a versatile dynamic microphone designed for podcasting, streaming, and content creation. It features OBS certification, advanced DSP noise reduction, customizable LED touch controls, and flexible connectivity options via USB-C and XLR.
Pros:
- High-quality sound with noise reduction and voice isolation
- Flexible connectivity options for various setups
- Customizable LED touch controls and app integration
Cons:
- May be complex for beginners due to advanced features
- Requires software for full customization
- Potentially higher price point
Best for: Creators recording spoken content from a desk
Not ideal for: People who need a compact, wearable microphone
Bottom line: Choose the Shure MV7+ when its connections, stand, and desk placement suit your recording setup.
Ring Light
A ring light can provide a consistent light source for a face-to-camera recording setup. The right choice depends on where you film and how much room you have, so start by measuring the available space and deciding whether the light needs to fit around a phone or camera. Placement and control matter: you should be able to position the light without crowding your frame or making your setup difficult to use.
A common mistake is buying a light before checking how it will attach to your existing stand or where it will sit relative to the camera. Check the mounting method, power requirements, and whether brightness and color settings can be adjusted. Consider whether you need to move the setup between locations, and make sure the controls are reachable once the camera is in position. Test your framing and lighting with the actual recording device if possible. Fit the light to your room, camera position, and routine instead of assuming one size or mounting style suits every creator.
What to look for:
- Measure the space available for the light and its stand.
- Check compatibility with your phone or camera mounting setup.
- Confirm power requirements and cable reach for your filming location.
- Look for brightness and color controls that fit your recording needs.
- Consider how easily the light can be repositioned or stored.
Smartphone Tripod
A stable phone mount helps keep framing consistent for recordings, livestreams, and hands-free filming. The named pick is the Cell Phone Tripod Mount, ULANZI ST-14 Smartphone Tripod Adapter Alumin. Before choosing a mount, check that it fits the phone you plan to use and that it connects to your tripod or support. The listing title gives the adapter name, so verify the product details for the exact compatibility information you need.
A common buying mistake is checking phone fit but overlooking the tripod connection or the orientation needed for your content. Confirm how the adapter attaches, whether it supports the way you intend to frame the phone, and whether your phone case affects the fit. Consider how often you will change between portrait and landscape recording and whether you need to reposition the phone during a shoot. Check the full fit before recording: phone, case, adapter, and tripod should work together without obstructing the camera or controls. If you use more than one phone, compare each device’s dimensions with the mount’s stated compatibility.
What to look for:
- Check the mount’s stated compatibility with your phone model and case.
- Confirm how the adapter attaches to your tripod or support.
- Verify that the mount supports your intended portrait or landscape framing.
- Make sure the phone camera and controls remain accessible when mounted.
- Check that the listing includes any accessories you need for attachment.
Cell Phone Tripod Mount, ULANZI ST-14 Smartphone Tripod Adapter Aluminum with Co
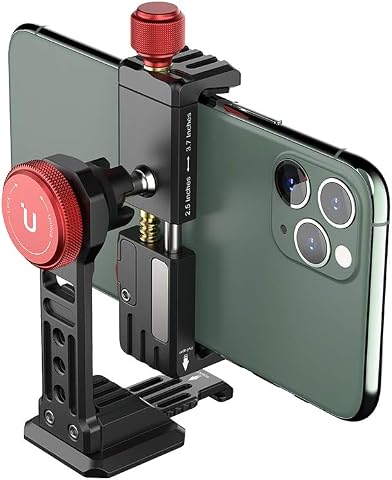
The ULANZI ST-14 is an aluminum smartphone tripod mount with a cold shoe, featuring a 360° ballhead for flexible orientation and a magnetic desktop support for hands-free use. It is compatible with a wide range of smartphones, including various iPhone models, Samsung, Huawei, and more, making it ideal for photography, video recording, and live streaming.
Pros:
- 360° adjustable ballhead for versatile shooting angles
- Compatible with a wide range of smartphones and accessories
- Includes cold shoe mount for microphones or lights
- Magnetic support legs for convenient desktop use
Cons:
- Some users may find the mounting clamp tight for larger cases
- Limited to smartphones up to 3.93 inches wide
- No included tripod or additional accessories
Best for: Creators filming with a smartphone on a tripod
Not ideal for: People who need a mount for a camera rather than a phone
Bottom line: Choose the ULANZI ST-14 if its phone fit and tripod connection match your setup.
Wireless Lavalier Microphone
A wireless lavalier system can suit recordings where the speaker needs to move away from a desk or microphone stand. The named pick is the RØDE Wireless PRO Wireless Microphone System (2 Transmitters, 1 Receiv. Its title identifies two transmitters and one receiver; check the full listing for the rest of the package details and compatibility before buying.
A common mistake is assuming a receiver will connect directly to every phone, camera, or computer. Confirm the output and any required cables or adapters for your recording device, and check how the transmitters will be worn and powered during a shoot. Think about whether you record one speaker or more, and whether your usual filming distance and locations suit a wireless setup. Verify the whole signal path—microphone, receiver, connection, and recording device—before relying on the system for a shoot. Also review the included accessories and instructions so you know what you need to carry and how you will position each microphone.
What to look for:
- Confirm the receiver output works with your phone, camera, or computer.
- Check which cables, adapters, and accessories are included.
- Match the number of transmitters to the speakers you record.
- Review how the microphones are worn and powered.
- Consider your recording locations and the distance between speaker and camera.
RØDE Wireless PRO Wireless Microphone System (2 Transmitters, 1 Receiver, Chargi

A complete professional wireless audio kit with two transmitters, one receiver, and a charging case, compatible with cameras, USB-C phones, and computers. It features 32-bit float on-board recording so clipped audio is fully recoverable, plus built-in timecode for syncing picture and sound across multi-camera shoots.
Pros:
- 32-bit float recording makes clipped audio fully recoverable, preventing lost takes
- Built-in timecode eliminates the need for clapper boards or manual audio sync
- Complete ready-to-shoot kit with charging case, lavaliers, cables, and windshields
- Wide 260m line-of-sight range suitable for interviews and film sets
Cons:
- Premium pro-grade kit likely more expensive than basic wireless mic systems
- Two-transmitter setup may be more than needed for single-speaker use
Best for: Creators recording speakers who need room to move
Not ideal for: People who only record at a fixed desk
Bottom line: Choose the RØDE Wireless PRO when its transmitter count and device connections fit your shoots.
Portable Green Screen
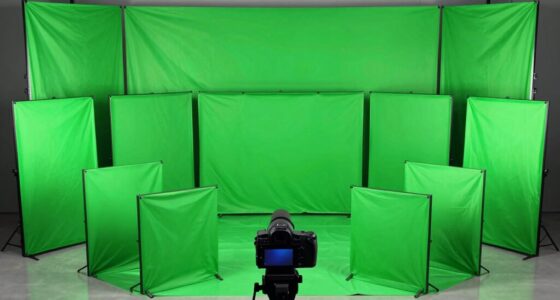
A collapsible green screen can provide a consistent background for content that uses a green-screen workflow. The named pick is the RAUBAY 78.7 x 82.7 inch Large Collapsible Green Screen Backdrop. Its listed dimensions give you a starting point for planning, but check the full product details and measure your filming space before deciding whether the backdrop suits your framing.
A common mistake is focusing on the backdrop alone without considering where it will open, how it will be supported, and how it will be stored between shoots. Compare its dimensions with the area behind you and the camera’s field of view, allowing enough room for the shots you intend to make. Check the setup and collapse method, and confirm how the backdrop is positioned or supported according to the listing. Space and coverage are key: a backdrop that cannot cover the visible frame or fit your recording area may complicate the shoot. Keep clothing and props in mind too, since items matching the background color may be difficult to separate in a green-screen workflow.
What to look for:
- Measure the available floor and backdrop space against the listed dimensions.
- Check how the backdrop opens, collapses, and is supported.
- Confirm that it covers the camera’s full frame for your planned shots.
- Consider where you will store it between recording sessions.
- Plan clothing and props with the green-screen background in mind.
RAUBAY 78.7 x 82.7 inch Large Collapsible Green Screen Backdrop

This professional green screen features a large size of 78.7 x 82.7 inches, suitable for containing two people. Made from wrinkle-resistant composite polyester fabric, it is easy to set up, fold, and transport, making it ideal for video conferencing, photography, and content creation.
Pros:
- Large size suitable for multiple people
- Wrinkle-resistant and durable fabric
- Easy to set up and fold for portability
Cons:
- May require additional lighting for best chroma key effect
- Heavy when fully assembled
- Limited color options
Best for: Creators who need a collapsible green-screen backdrop
Not ideal for: People without room to open and position a large backdrop
Bottom line: Choose the RAUBAY backdrop if its dimensions and setup fit your recording space.
Video Editing Keyboard
A video editing keyboard can make repeated editing actions easier to reach, but its usefulness depends on your software and working habits. Start with the editor you use and identify the actions you perform most often. Software compatibility comes first: check whether a keyboard offers mappings or controls that work with your editing application and whether you can change those mappings to suit your routine.
A common mistake is buying a specialized keyboard based on its appearance or shortcut labels without checking whether those commands match your software. Review the layout, connection type, operating-system support, and any setup requirements. Consider your desk space and whether the keyboard can sit comfortably alongside your current input devices. If you switch between editing applications, make sure the configuration can accommodate that workflow. Test the layout against your actual editing tasks before committing, and consider whether a standard keyboard with shortcuts you already know would serve your needs just as well. Choose controls that reduce friction in your own workflow rather than adding a new setup you have to manage.
What to look for:
- Confirm support for your editing software and operating system.
- Check whether shortcut mappings can be customized.
- Review connection type and any setup or configuration requirements.
- Make sure the layout fits your desk and editing posture.
- Compare the controls with the editing actions you repeat most often.
Use a needs-first buying order: start with the part of your workflow that currently limits recording, such as audio, phone support, lighting, or a background. Confirm device compatibility and space before moving to accessories, then consider editing controls once you know which shortcuts you use regularly.
You do not need to assemble every item at once. Build a reliable setup around the content you make most often, check each connection and fit before a shoot, and add the next piece when it solves a clear practical need.
Fall Picks
fall essentials
As an affiliate, we earn on qualifying purchases.